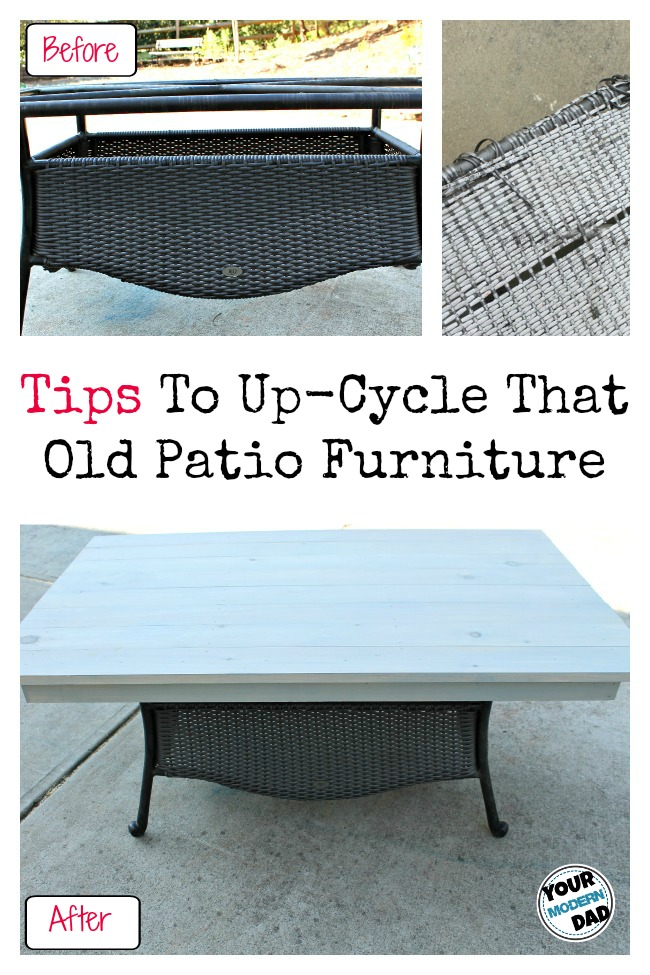
Wait… Don’t kick that out-of-date and tattered furniture to the curb. Here are some quick and easy tips to up-cycle that old patio furniture.
Every year my loving wife stands out on our back (screened-in) porch and says “I really don’t like this furniture…” I usually know where this conversation heading. It will be 3 weeks of window shopping in every outdoor furniture store in a 50-mile radius. We will look at every Pinterest idea, look through every Home and Garden website and look on Facebook for ideas. We will spend countless hours trying to figure out do we want white, black, brown, chocolate, Mocha, a hint of gray… It is never-ending.
This year we decided again buying new furniture. My sister-in-law had a great idea to add a new top to our little coffee table. Again, what do we do? Do we make a cover for it out of outdoor fabric to hide the damaged areas? Do we get a piece of glass to make it more usable?
I decided to use both concepts and to make a table top that could be used in many different ways. It functions as a traditional coffee table, a game table for family night, and it can be used as a little dining table for the kids and their friends.
Here is how I made it.
- 4 – 8ft 1X6 boards (cut in half to make 4ft sections, this is the top of the table)
- 2 – 8ft 2X2 boards (measured out on the top of the table to get the exact size, this is your “skeleton” frame for the table top)
- 2 – 8ft 1X3 boards (measured and cut to fit the sides of the table, this will surround the skeleton)
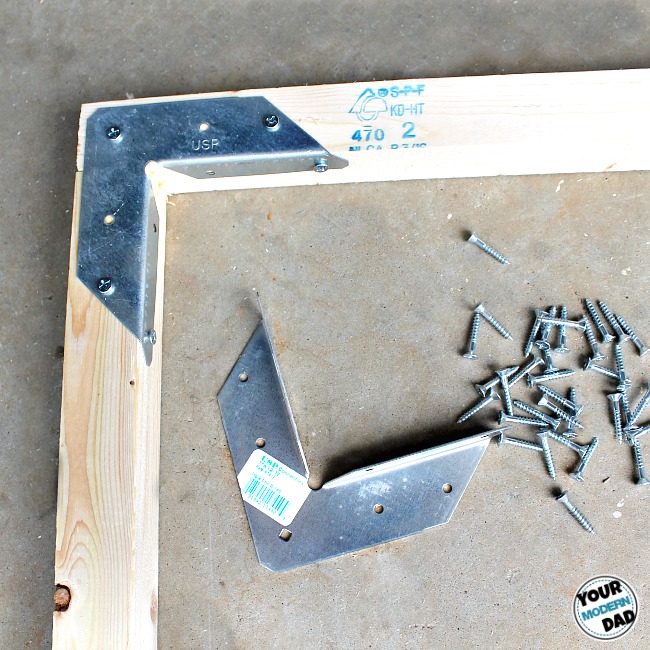
- Corner framing brackets (any hardware store will have (will help to make a perfectly square)
- Stain color of your choice (I used a slate gray)
First I laid out the 2X2 boards to make sure it was the correct size for the frame of the table.
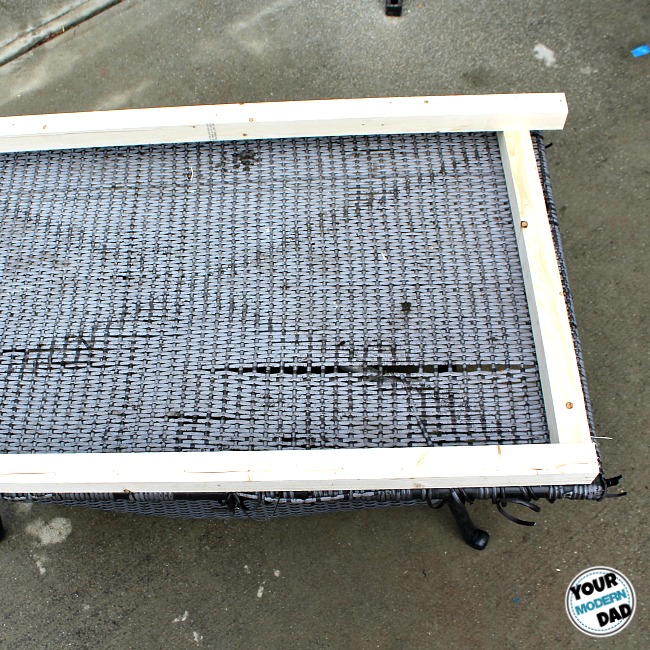
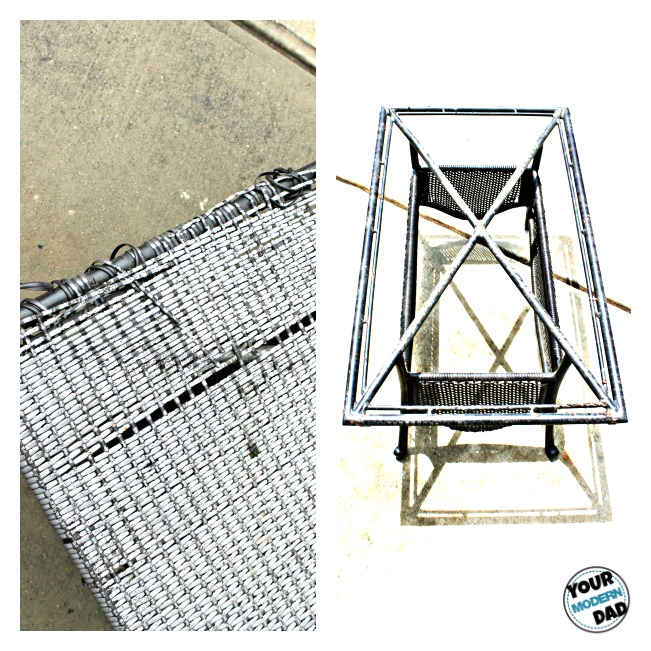
Then I removed the old worn out table top (ours was in pretty rough shape, as you can see).
Next, I attached the corner framing brackets to each corner to finish the frame.
Once the frame is built, I then attached the side boards (1X3) around the outside of the frame. I used a finishing nail gun, but you can use a regal old hammer and nails.
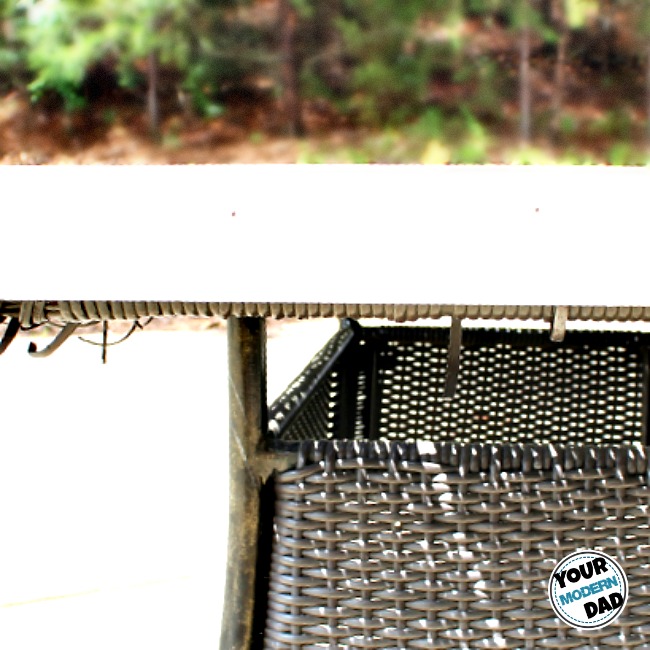
After the side pieces are attached, then lay out the 1X6 boards on top.
Tip: find the center point on each side of your frame and start from the middle and work you way out. It will keep your boards straight and in line.
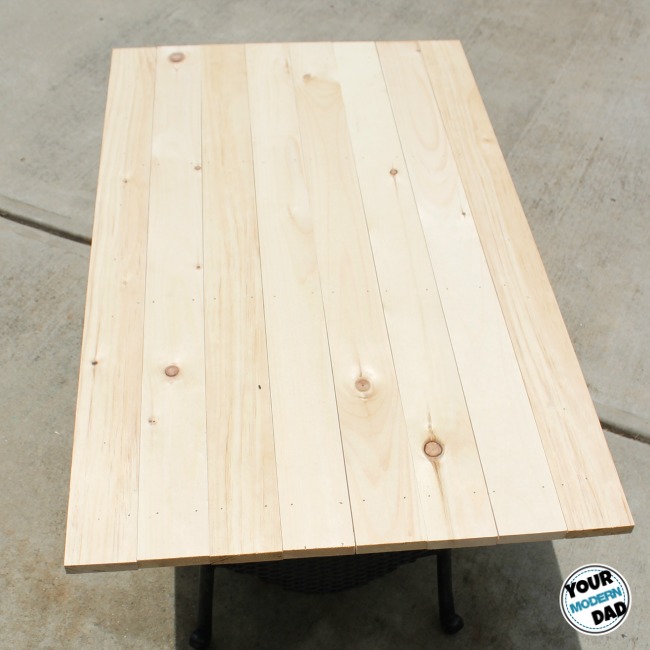
This is what it should look like prior to staining.
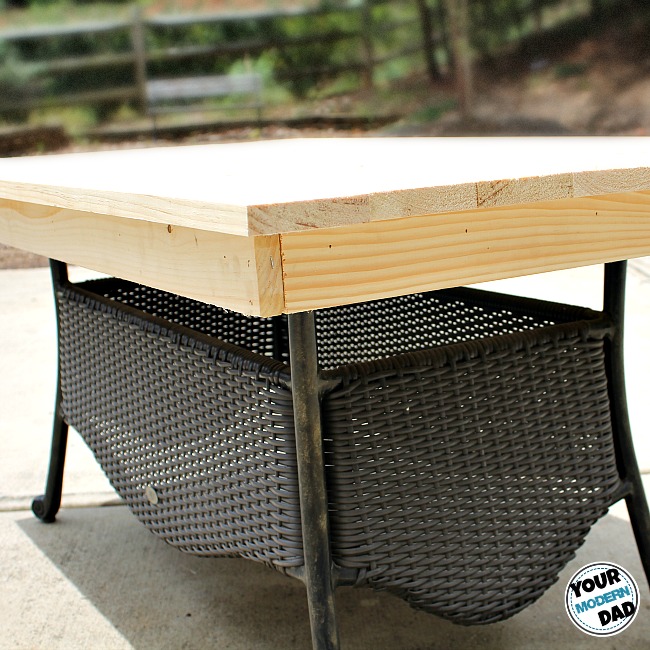
Here is the finished product
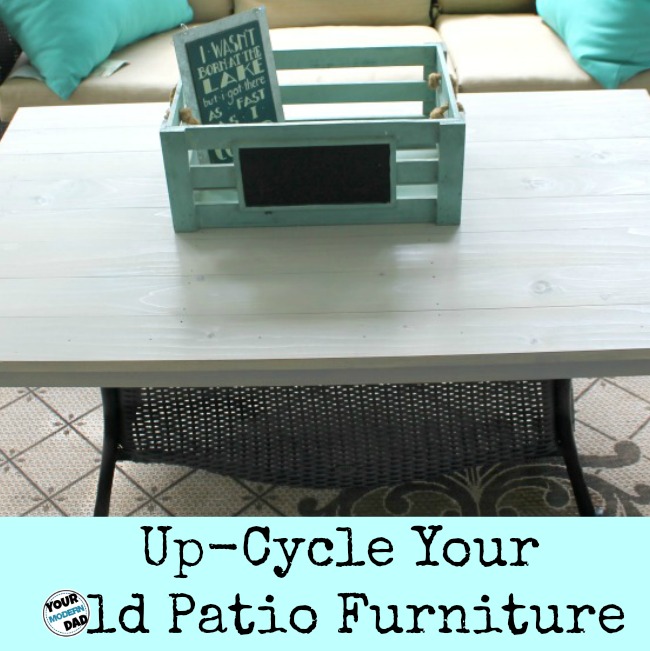

Such a nice transformation of old table! Great job!
It is one of my favorite pieces for sure. I use it in a lot of my photo shots.
I want to thanks to a great extent for providing such informative and tips about old patio furniture. That is so sweet! Please keep blogging.
Thanks Brian! I may have some new ideas in the near future!!!!
You did it by yourself? Wow! That is amazing. It looks like you bought it or someone made it for you. And the color’s a whole lot better than before. A patio should not look dull and boring. Thanks again for this great job.